
Creating a timeline for your elopement or intimate wedding day can seem overwhelming at first, but it doesn’t have to be! I help all of my couples with crafting their timelines to make their elopement into the perfect day for them. Below are some tips and example timelines that will help as you begin to put your timeline together!
1. Create a list of all of your activities and pre-planned times.
Once you get to the point of being ready to create your elopement timeline, you will have already made some of the biggest decisions for your day. Including location, lodging, and major activities for the day. If you’re still looking for things to include in your day, check out this blog post with 50 fun things to do on your wedding day!
Once you have all of your activities picked out, put them all together in a list. Include any times that are set in stone, such as pre-booked activities and ceremony time if you’re inviting guests.
2. Decide on sunrise vs. sunset.
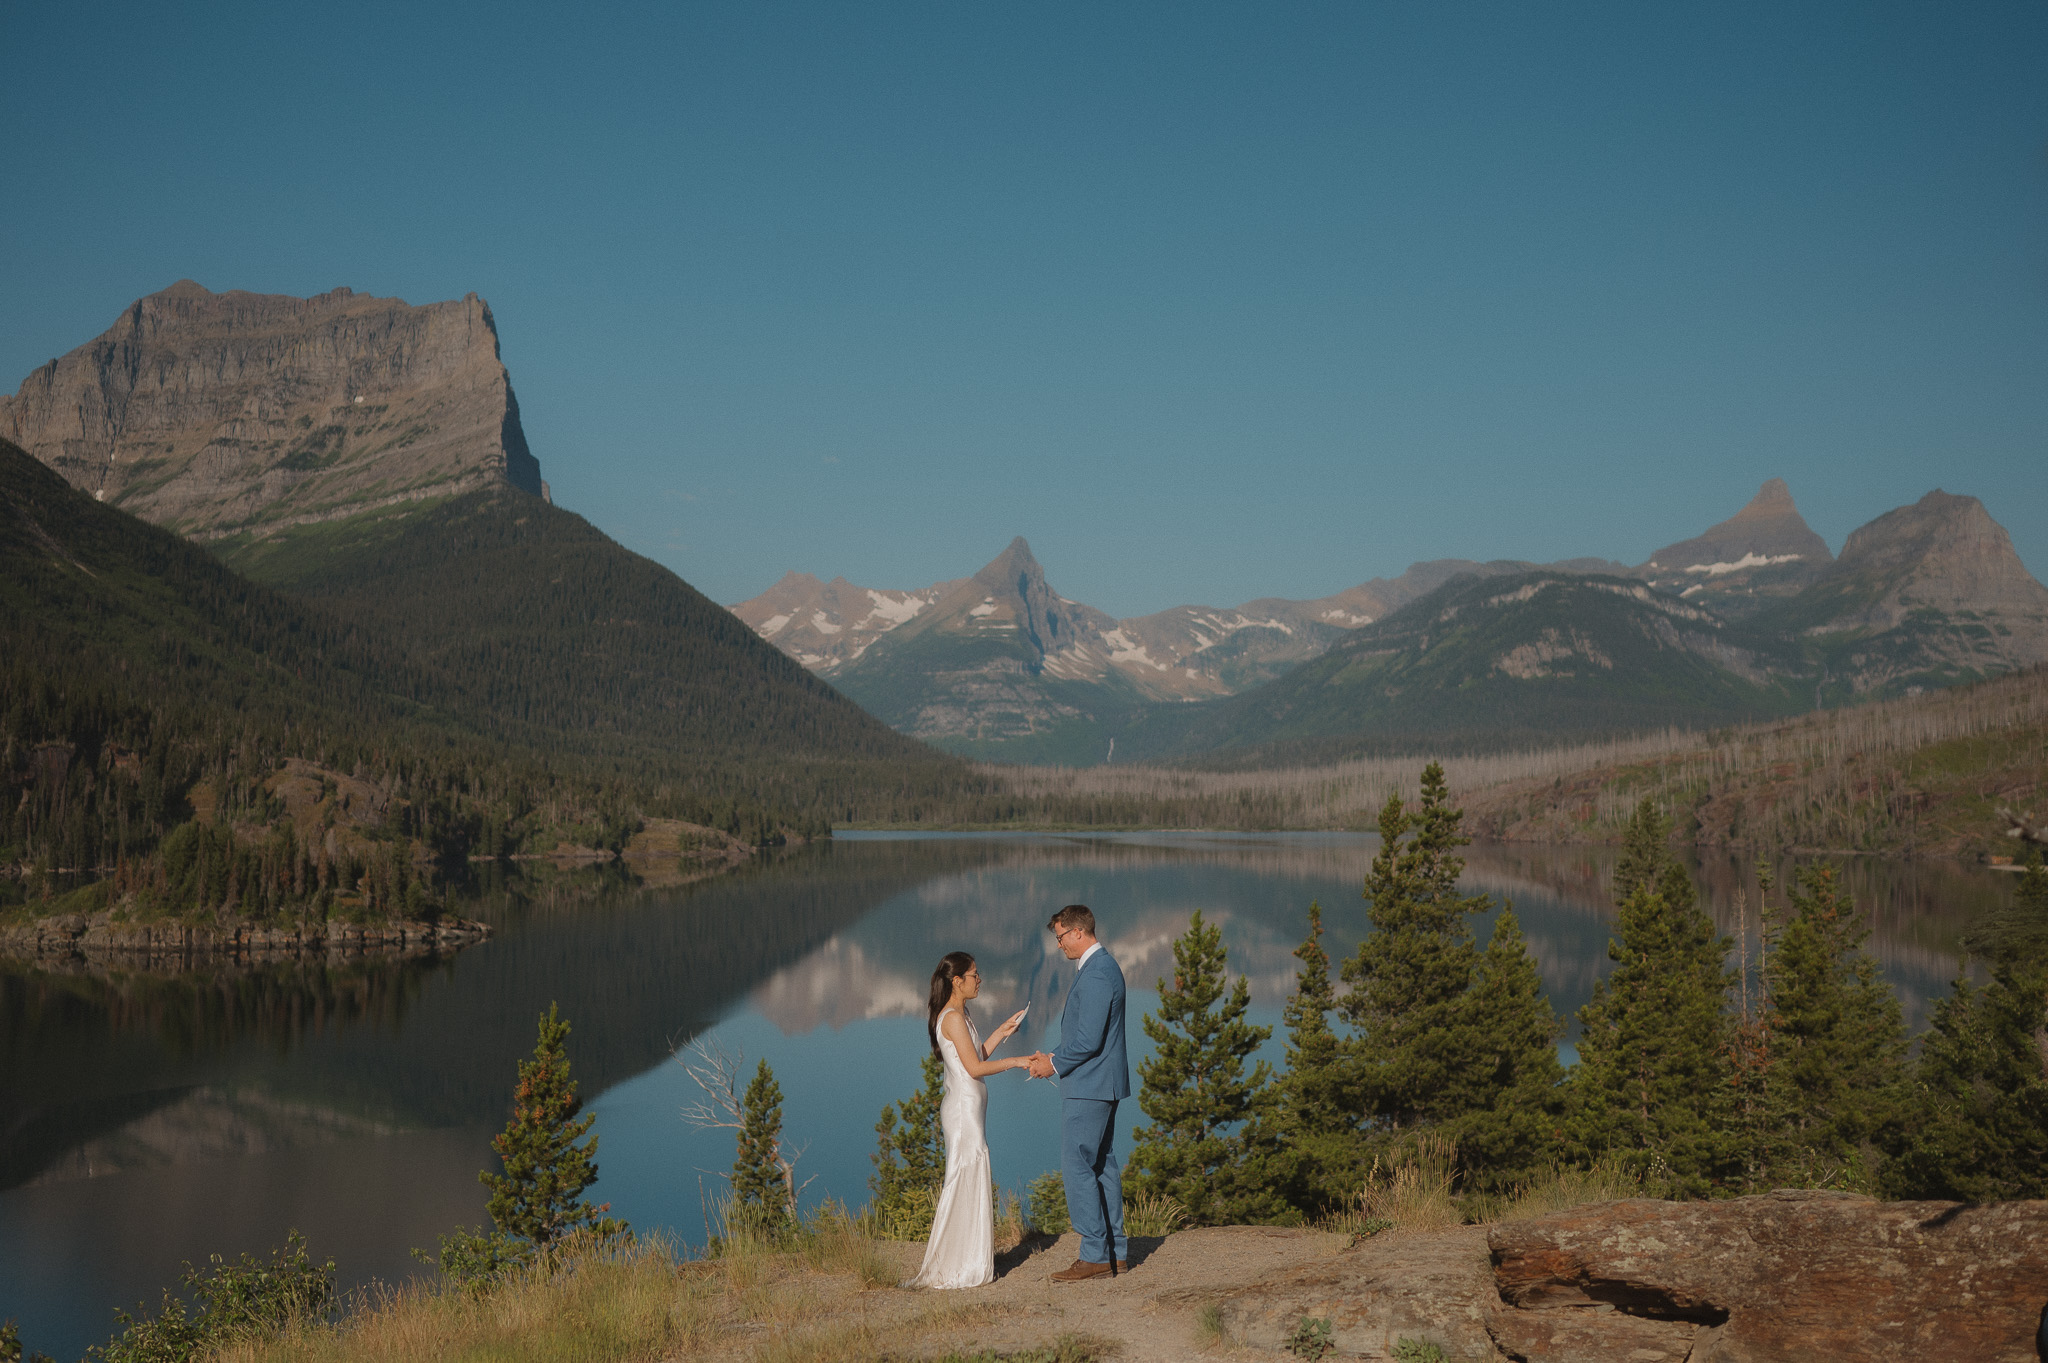
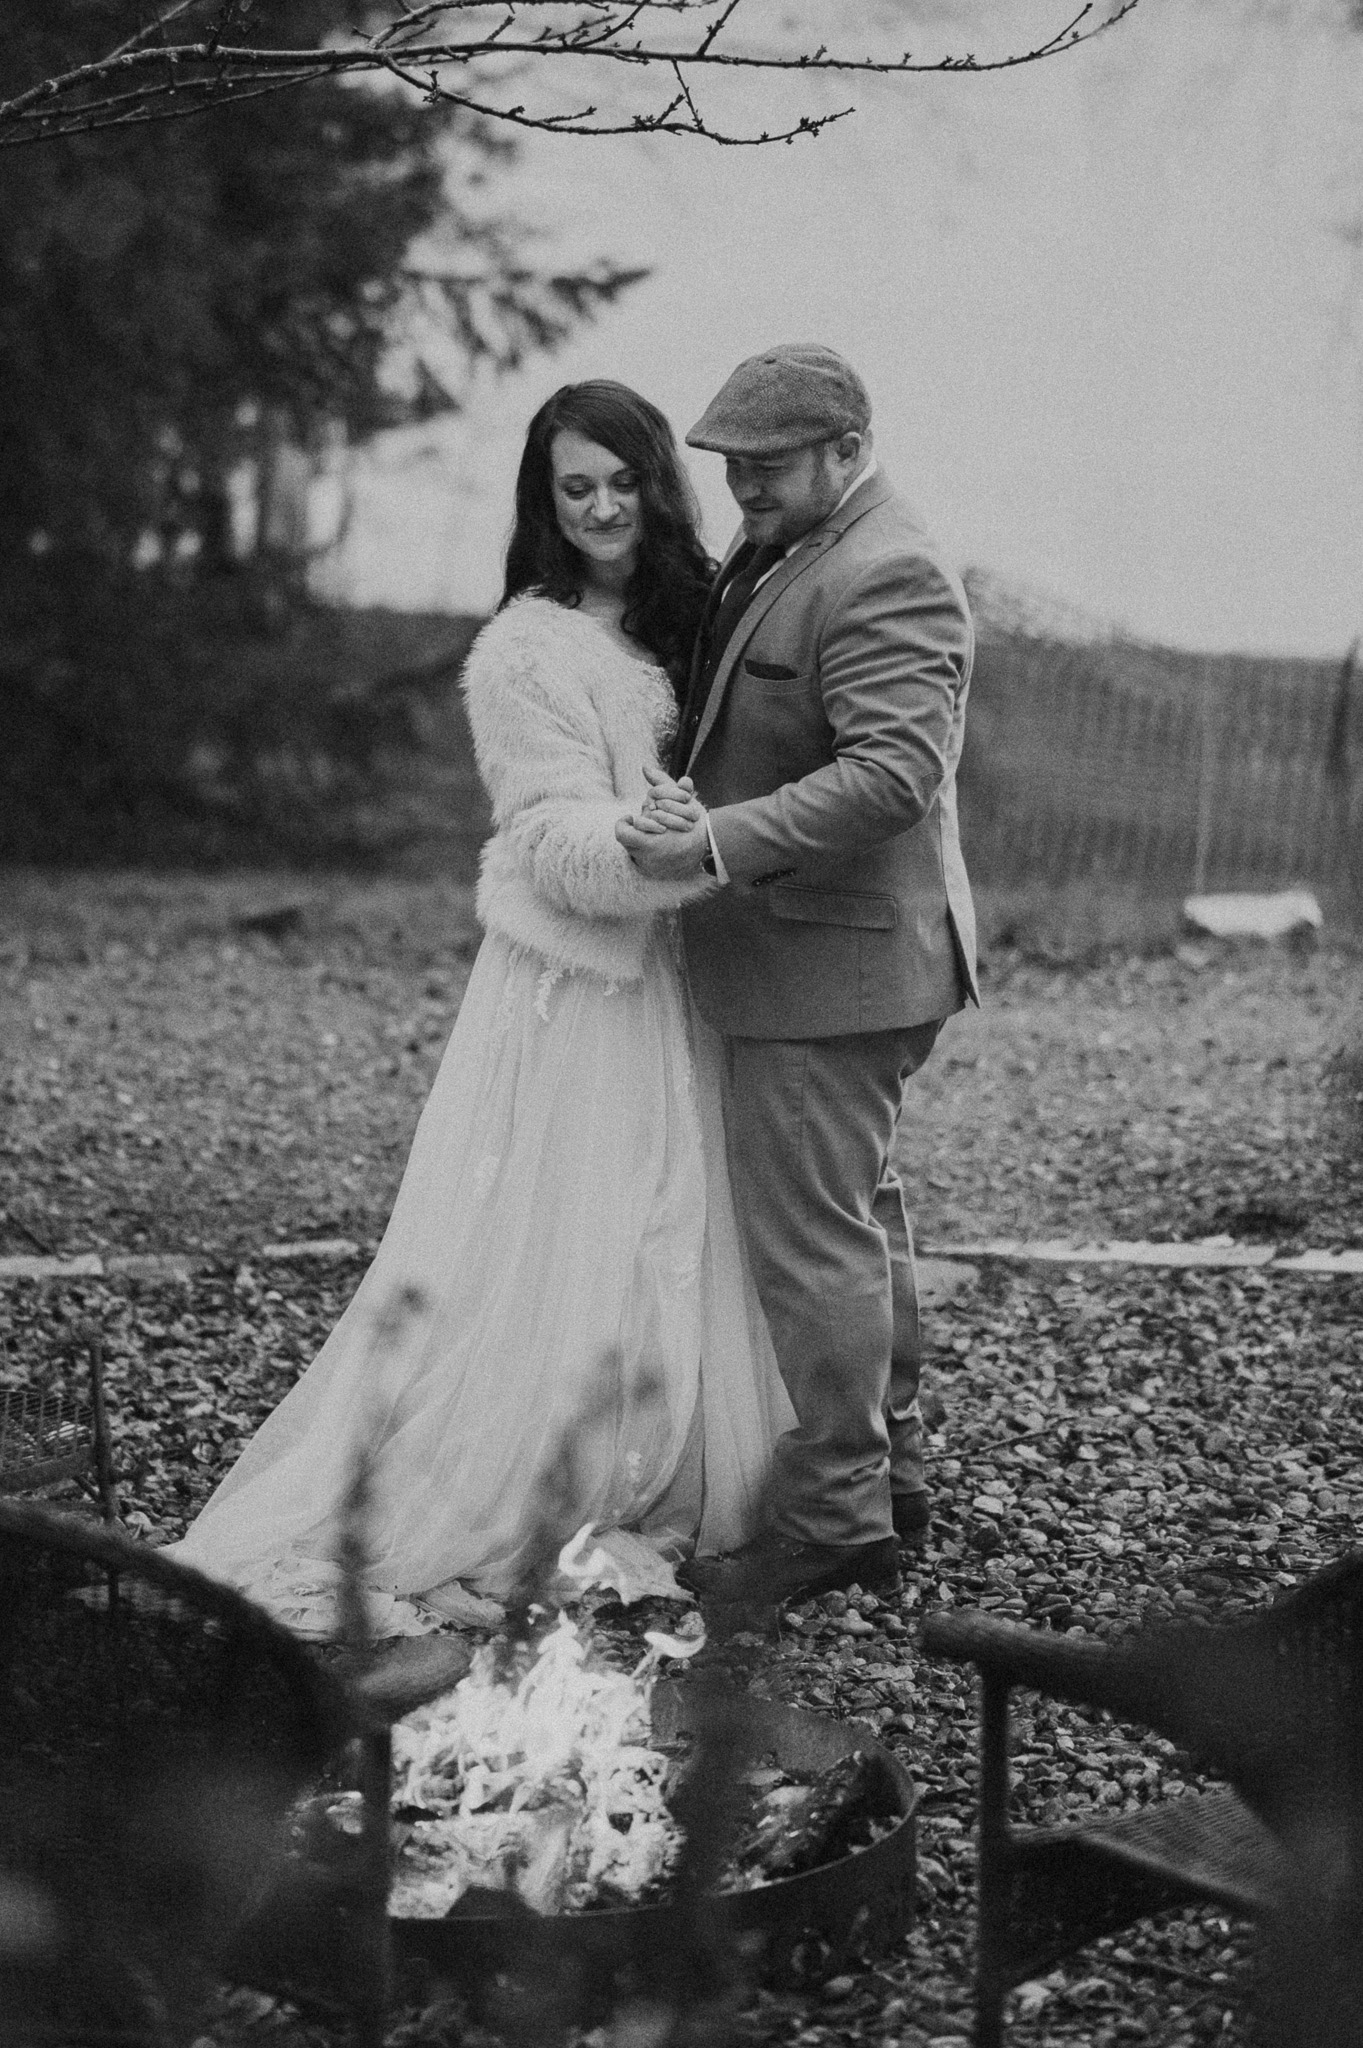
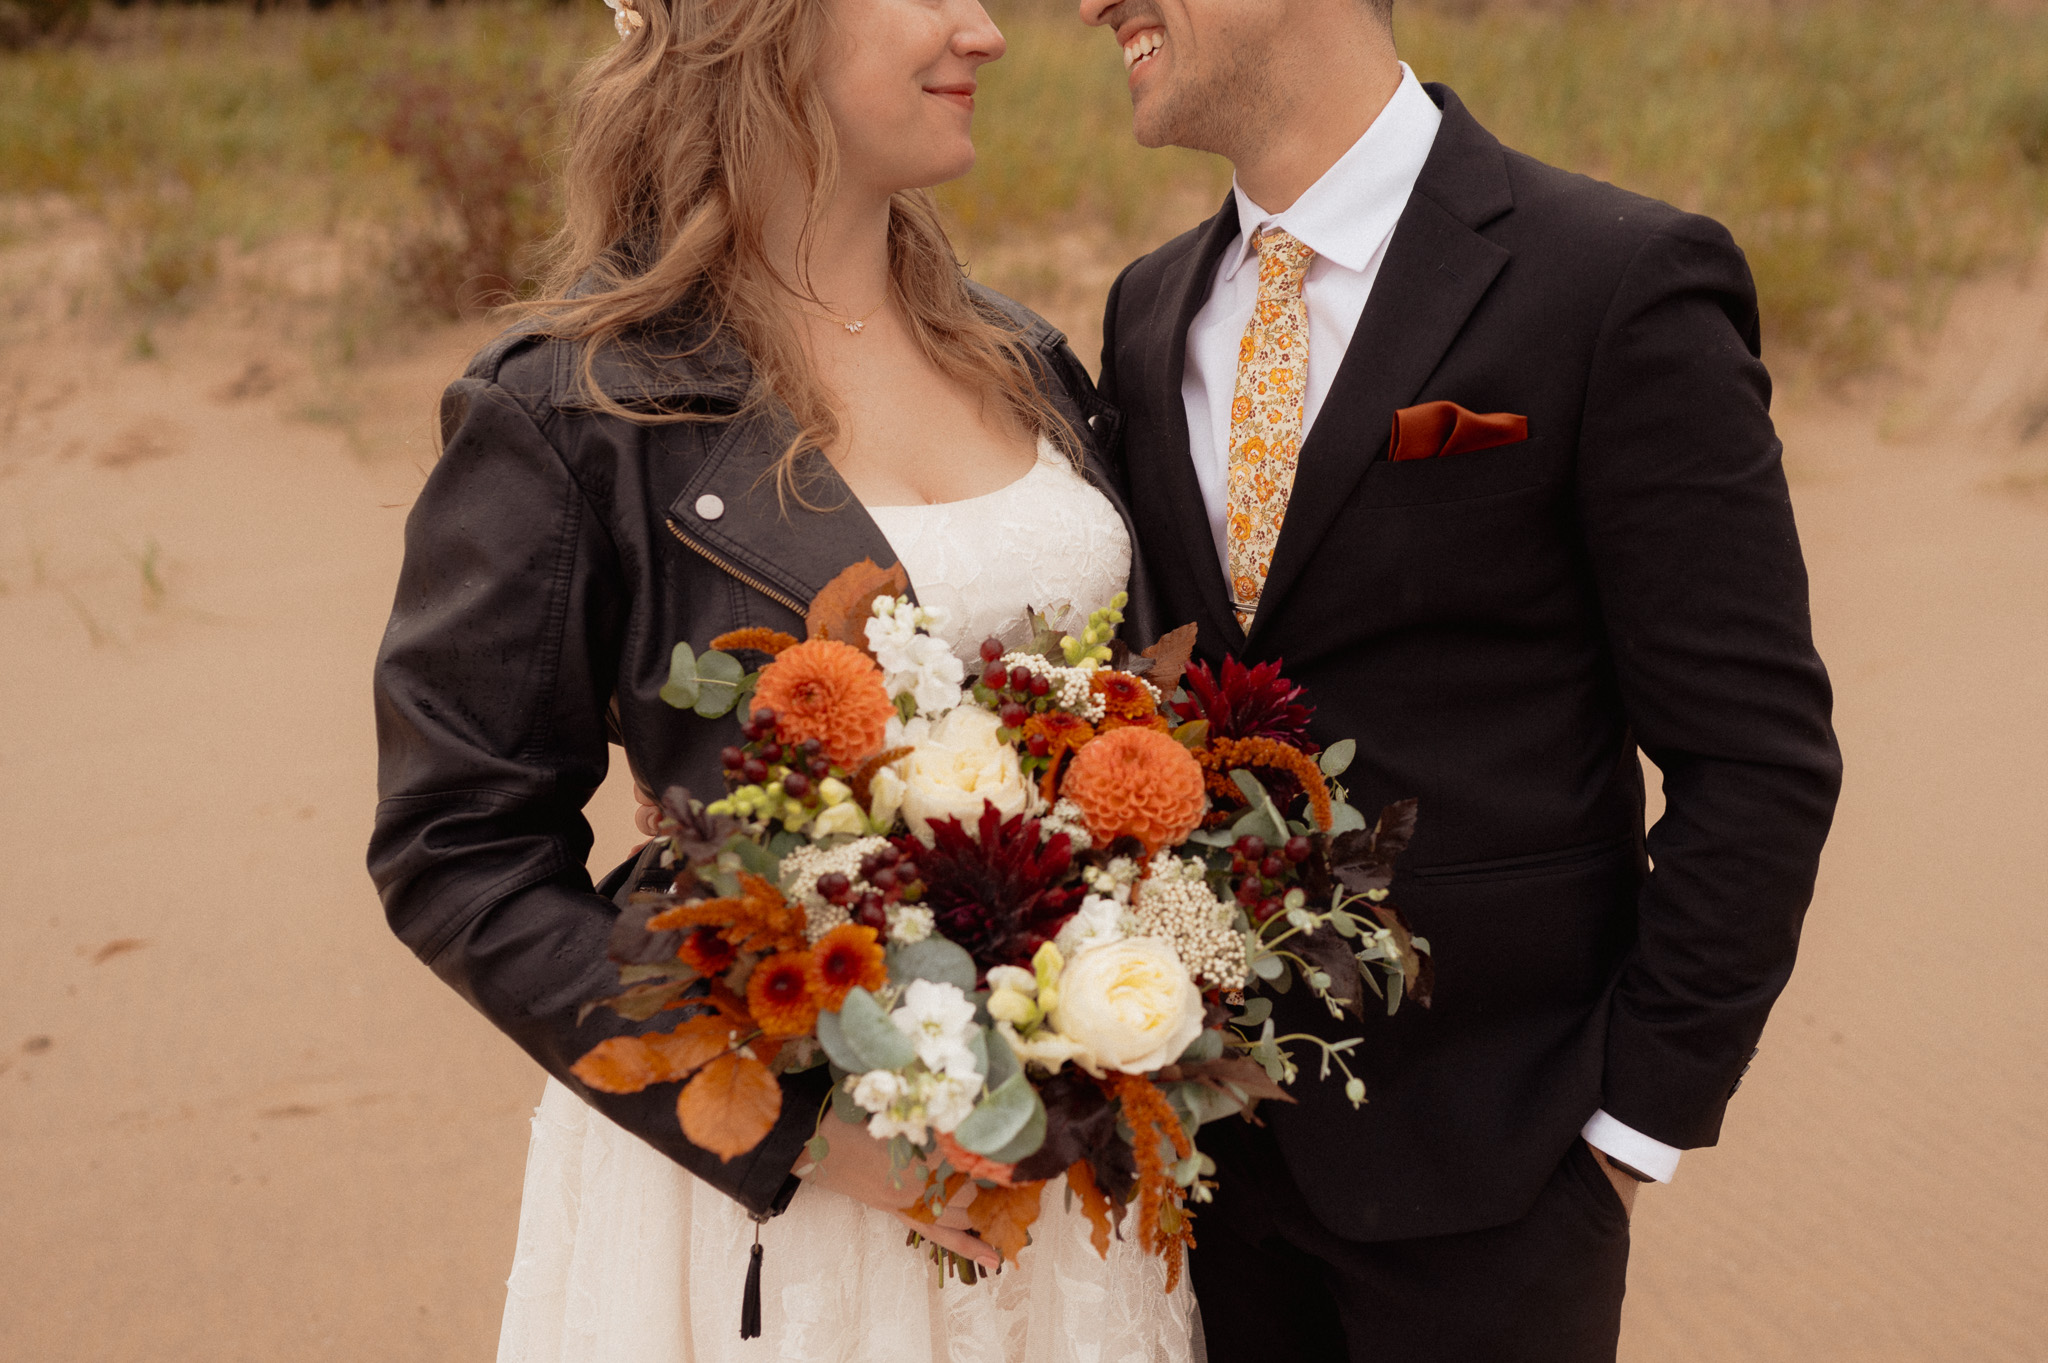
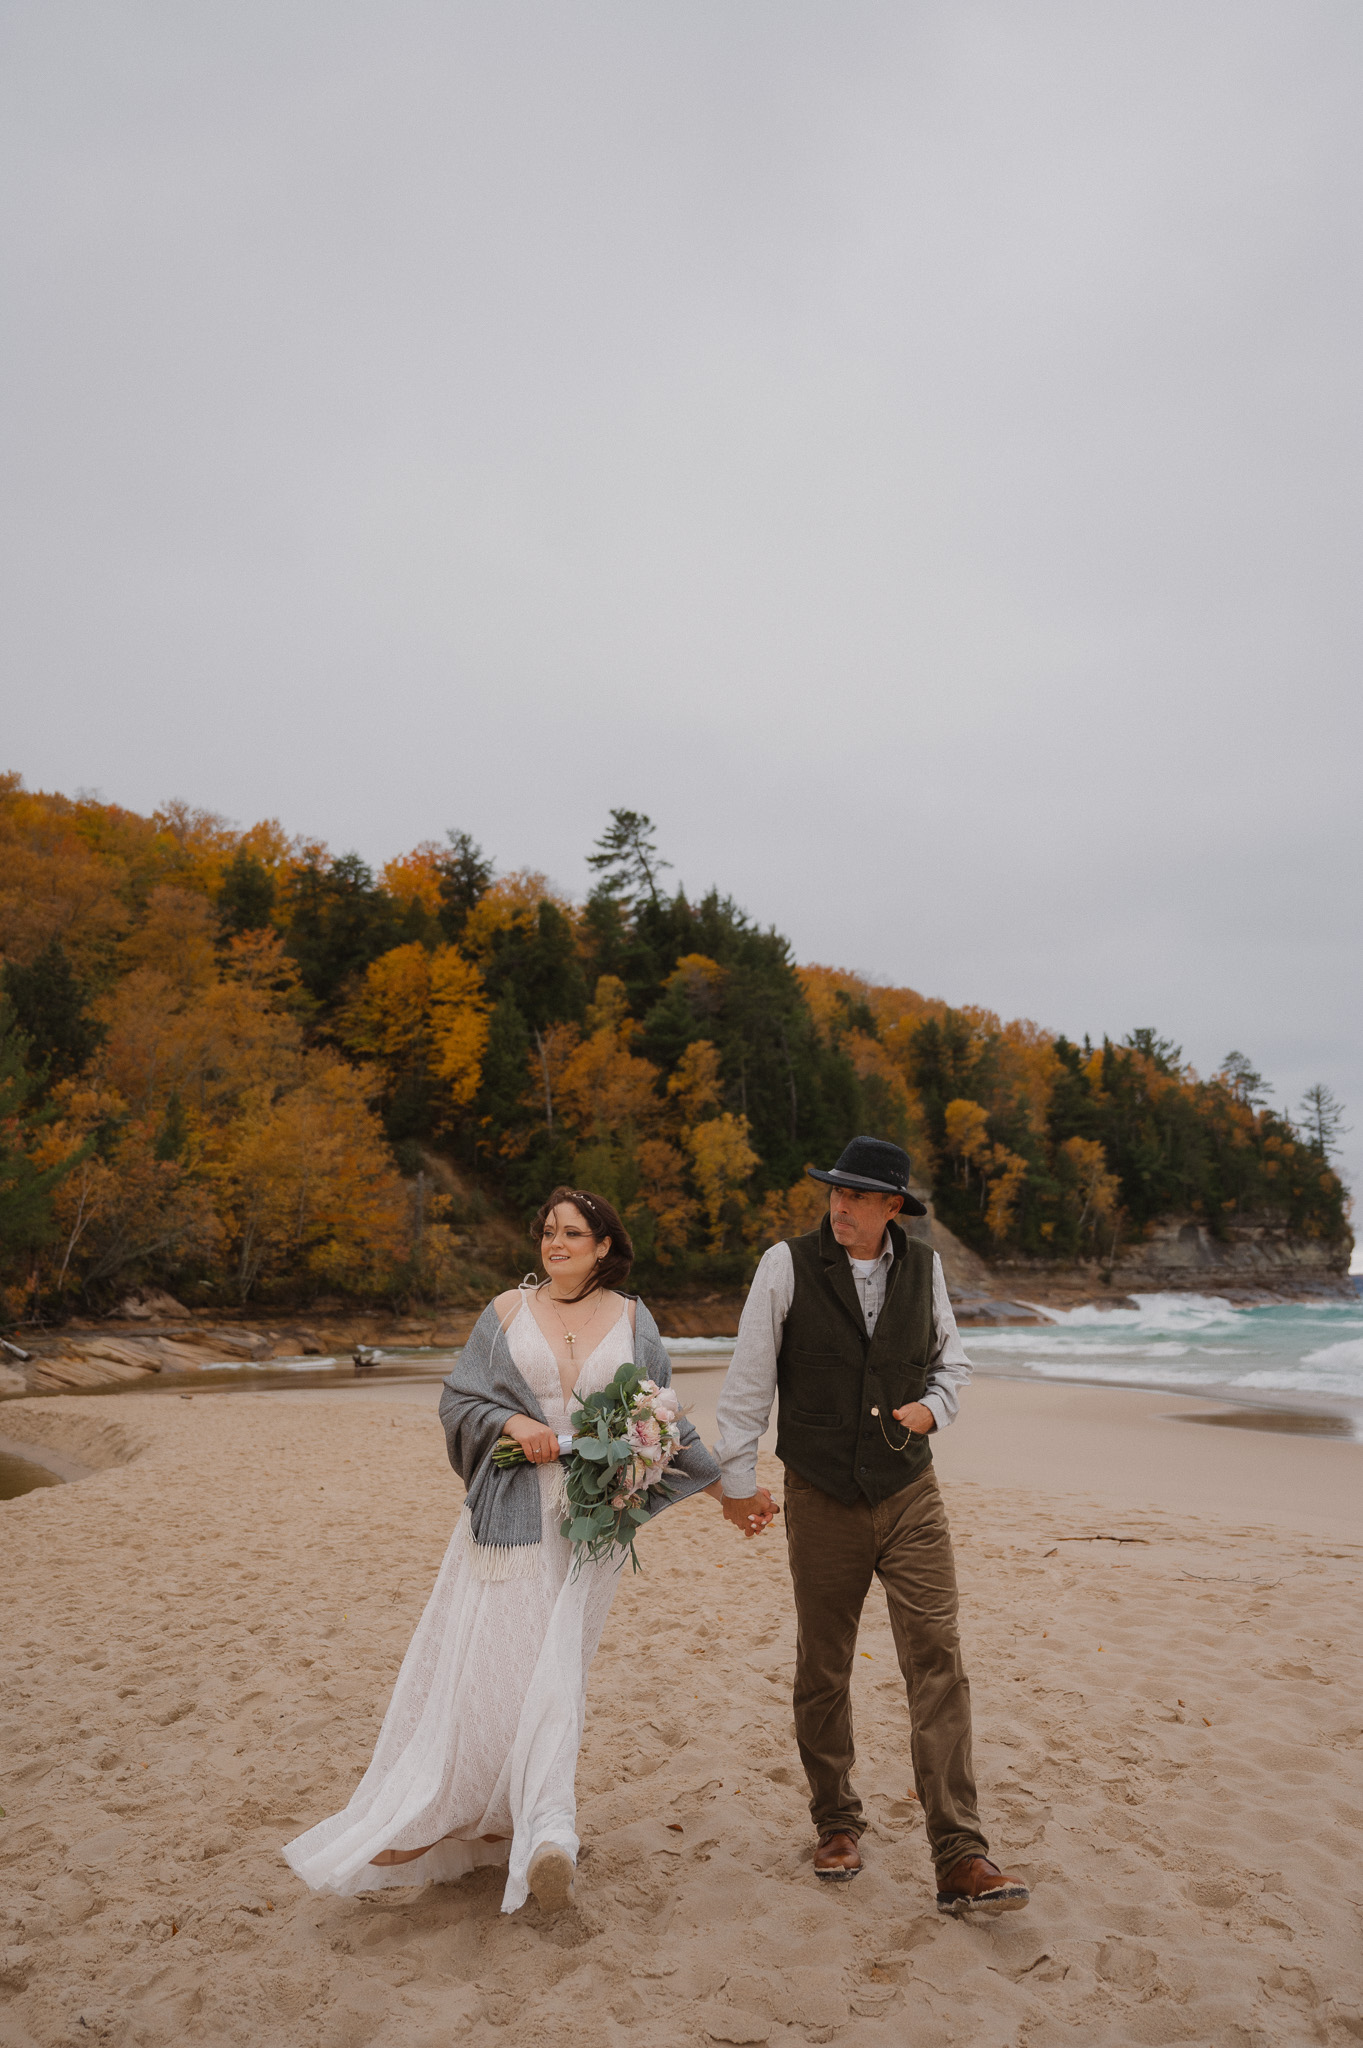
One of the first things you should decide when crafting your timeline is what time of day you will have your ceremony and couple photos taken. Sunrise or sunset timing are recommended as the light is best at these times of day, and your photos will have gorgeous golden light and vibrant colors in the sky.
One of the biggest benefits of eloping at sunrise is that there are typically less people around, giving you a more secluded and private ceremony. It’s also the perfect way to start your day and allows for plenty of time afterwards to spend the day with your partner, doing whatever you two would like to do.
However, eloping at sunset allows you both to sleep in! If you are not morning people, this is definitely a benefit as sunrise can be a bit too early for some people. Also, you will likely be less nervous about having your photos taken, as I will already have been photographing you for most of the day.
You don’t necessarily have to choose between sunrise or sunset – this is your wedding day, and you can absolutely do both! You can say your vows at either time, and have couple photos taken during the other. Your timeline can also span from sunrise to sunset. It’s entirely up to you!
3. Factor in getting ready time and decide on a first look.
After you’ve decided on your ceremony time, think about how much time you will both need to get ready for your wedding, and pack in a little extra time to make sure you’re not running short on time or rushing through. I typically recommend around one and a half to two hours, which also allows me time to photograph details of your day. You will also need to decide if you prefer to get ready together or separately, which will likely depend upon if you plan to have a first look before your ceremony.
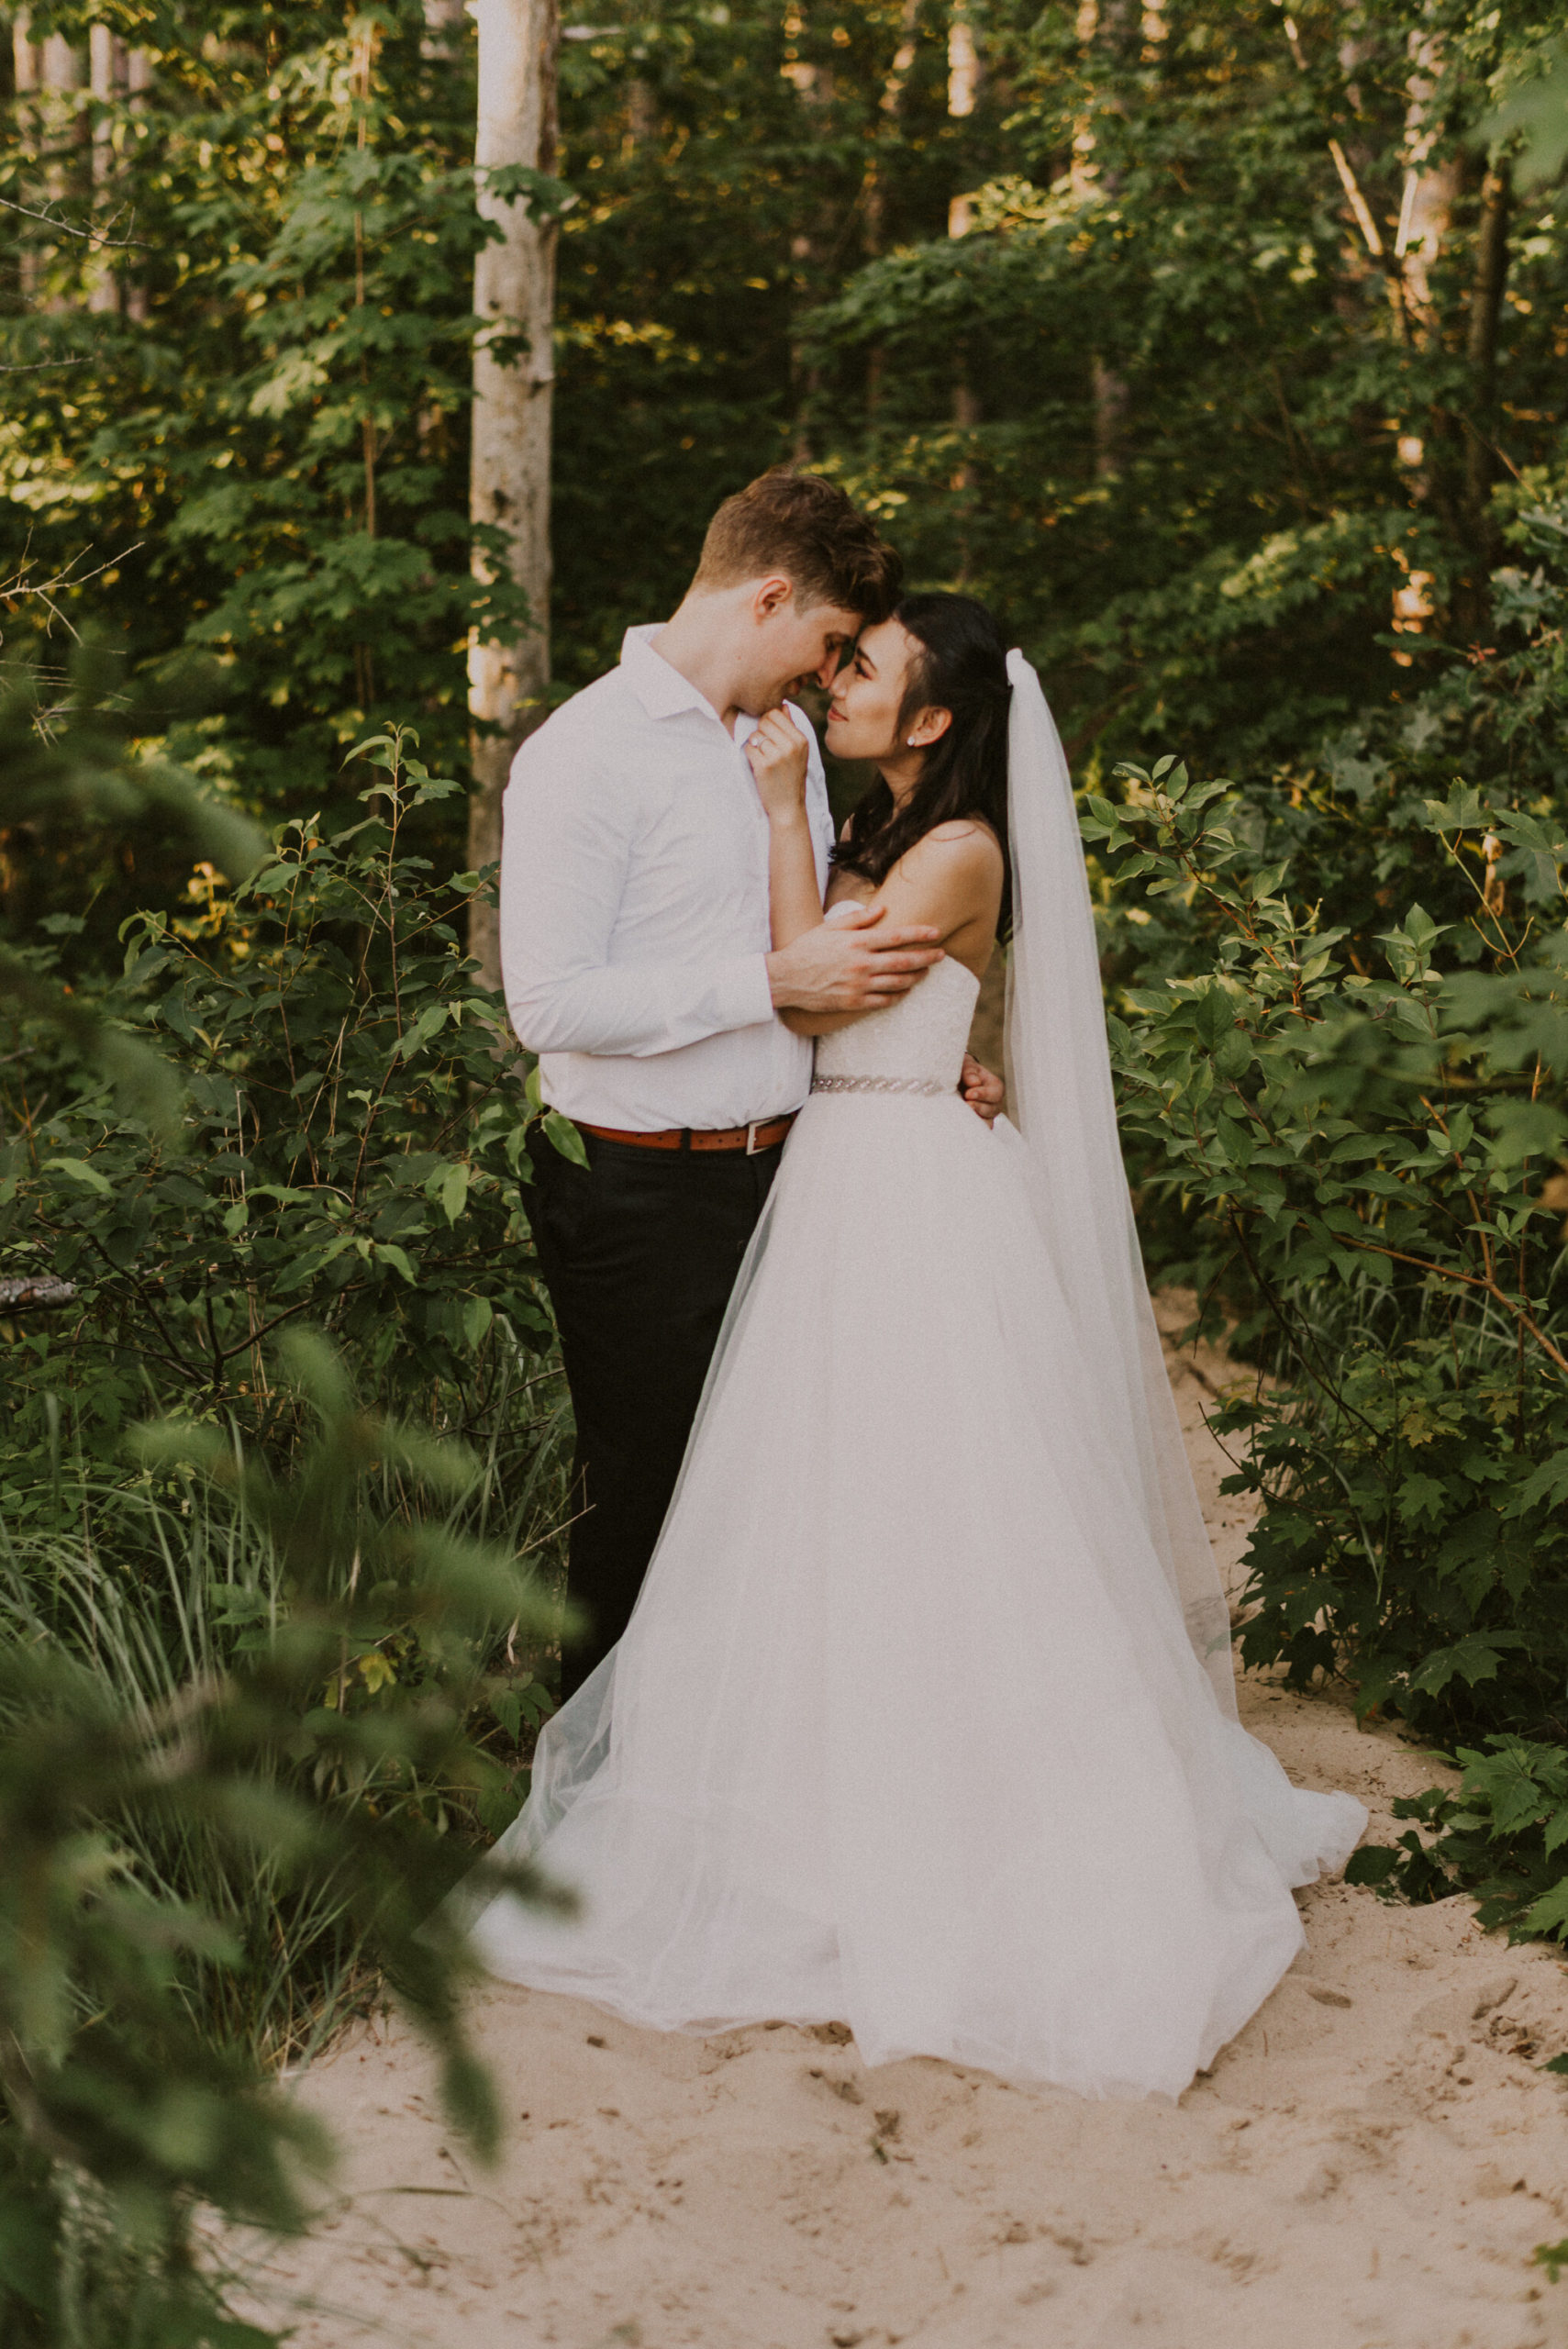
Having a first look before your wedding ceremony is the first time that you and your partner will see each other all done up and in your wedding attire. This is usually the moment that it begins to really feel like your wedding day. Photographing first looks is one of my favorite parts of the day, it is a moment filled with emotion and excitement, and that emotion carries over into the rest of your day. Having this moment to yourselves really allows you to be fully present in the moment with each other.

4. Put your timeline together!
Once you’ve decided on sunrise vs. sunset, getting ready time, and your first look, you can begin to build your timeline around these. Below are some examples of elopement timelines that can help inspire you as you plan yours. And remember, I am always here to provide guidance as you go through this process!
Timeline example #1:
8 hours of photo coverage
6:00 am: Photographer arrives at Airbnb, captures getting ready photos and details
7:30 am: Head to location in two vehicles
8:00 am: Arrive at location for sunrise, first look as the sun comes up
8:30 am: Ceremony, followed by hiking around area, couple photos, and a coffee toast
11:30 am: Head back to Airbnb
12:00 pm: Pack lunch for picnic
12:15 pm: Picnic behind Airbnb, overlooking the water
1:30 pm: Additional couple photos around Airbnb and by water
2:00 pm: Photo coverage wraps up
Timeline example #2:
12 hours of photo coverage
6:00 am: Photographer arrives at Airbnb, captures getting ready photos and details
7:30 am: Head to location in two vehicles
8:00 am: Arrive at location for sunrise, photographer sets up couple for first look
9:00 am: Ceremony and vows
10:00 am: Picnic breakfast and coffee
11:00 am: Hiking around and exploring area, couple photos
1:00 pm: Head back to Airbnb
1:30 pm – 6:00 pm: Break for naps, food, etc.
6:00 pm: Meet at Airbnb, drive to second location
6:30 pm: Arrive at location and hike in
7:15 pm: Champagne toast, hike around and explore area
9:00 pm: Sunset walk along the beach
10:00 pm: Hike back to parking lot
10:30 pm: Photo coverage wraps up
Timeline example #3:
8 hours of photo coverage
12:00 pm: Photographer arrives at Airbnb, captures detail photos and couple getting ready together
1:30 pm: Head to location #1
2:00 pm: Park cars, begin hiking to beach
3:00 pm: Picnic on beach, followed by couple photos and a walk in the water
4:30 pm: Hike back to cars
5:30 pm: Head to second location
5:45pm: Park cars, begin hiking to summit
6:15 pm: Reach summit, exchange vows, followed by couple photos
7:00 pm: Watch the sun set
7:30 pm: Hike back to cars
8:00 pm: Photo coverage ends
Timeline example #4:
6 hours of photo coverage
2:00 pm: Photographer arrives at Airbnb, captures getting ready photos and details
3:30 pm: First look outside Airbnb
4:00 pm: Drive to ceremony location, meet family and friends
4:30 pm: Ceremony
5:00 pm: Family photos
5:30 pm: Couple photos
6:00 pm: Head to winery for intimate reception
6:30 pm: Candid moments, cake cutting, toasts
7:30 pm: Sunset photos in the winery
8:00 pm: Photo coverage ends
No matter how you plan out your day, make sure you leave time for spontaneity! The focus of the day is you two, celebrating your love together in an authentic way. You don’t need to feel rushed or pressured to make your timeline fit perfectly. After all, the day is all about you!
No matter how you choose to spend your wedding day, I am here to help guide you through the process of eloping. I will be your photographer, your guide, your cheerleader, and your friend on the best day of your life.
Remember, you can make your wedding day whatever you want it to be!
Looking for more tips for planning your day? Check out more blog posts here.

View comments
+ Leave a comment